(TL;DR at the bottom)
I'm into retro computing and live booting ISOs from flash drives, and have been looking for a live-bootable DOSBox for a while, similar to the boot-to-DOSBox raspberry pi image.
I found "DOSBox Distro - A LiveUSB Linux Distro which boots directly into DOSBox" but it didn't boot under UEFI or work the way I wanted it to... and hadn't been updated in a few years.
That left one solution - doing it myself. I use the GParted live boot ISO really often, and it comes in under 400mb so I set off replicating that with the intention of "just"" adding DOSBox - how hard could it be, after all the instructions are all online.
Needless to say I ran into all kinds of errors and made zero progress. I ended up using Debian live-build (the gparted ISO is based on Debian so I knew a <500mb image was possible), and spent hours fiddling, googling, reading and exercising "trial and error" until I eventually got a bootable (under MBR and UEFI) ISO built!
After a few issues trying to re-build the image, I ended up making a Docker image that created a re-usable environment in which to build my debian ISO... including a patch for what seems to be a bug in "debootstrap".
That gets most of the fighting out of the way, running lb config (which creates config files and some directories) and then lb build (which uses them) inside the container is enough to create a minimal, bootable, Debian image!
It was time to customized it, and here's how... (the following points apply to the "config" directory created by lb config)
1. Adding packages:
Obviously the goal was to add DOSBox to the ISO image. Placing one or more files in the packages-list directory, with a .list.chroot extension, specifies which "apt" (being Debian) packages should be installed during the build.
Eg: create config/package-lists/dosbox.list.chroot with:
dosbox
2. Modifying the system:
Files or directories can be placed in the includes.chroot_after_packages directory and these will be copied into the built images.
Scripts can be placed in the config/includes.chroot_after_packages/lib/live/config/ directory (with a number prefix), which will run on startup before the user is logged in. For example, changing the default password (from "live").
3. Adding files to the (squashfs) file system:
Booting my ISO and running DOSBox (in terminal), I noticed keyboard presses registered incorrectly and DOSBox was unusable. To fix this I needed to provide a DOSBox config file and change some default settings.
Eg: create config/includes.chroot_after_packages/home/user/.dosbox/dosbox-0.74-3.conf with
[sdl]
usescancodes=false
Which makes a DOSBox config file in the user user's home directory, fixing the typing problem.
This includes.chroot_after_packages directory also means games can be added into the live boot filesystem (a single squashfs file, so they won't be directly accessible if the ISO were written to a disc). This is works fine, but I wanted an easier way to add or change files without rebuilding the whole image every time I wanted to play a different game.
4. Adding files to the ISO:
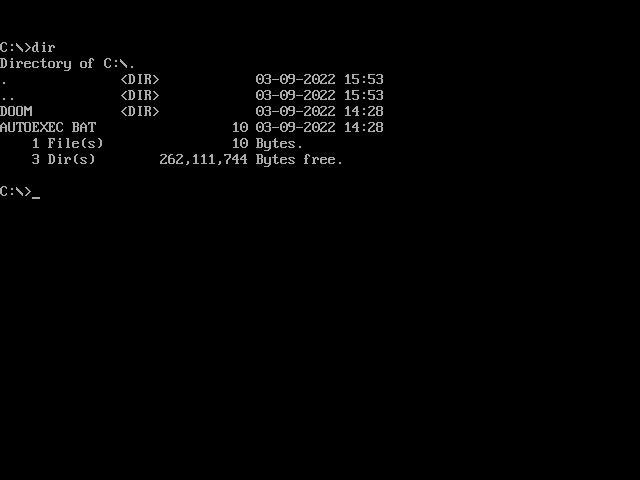
Having used PowerISO numerous times to modify or add files to ISOs, I wanted a "dosbox-files" directory in the root of the ISO - not in the squashfs file - that I could more easily add games to.
The includes.binary directory is used for adding files to the root of the actual ISO. If nothing else this route also makes the files intended to be used with DOSBox more accessible by opening the ISO or reading them off the disc if it were written to one.
Eg: create config/includes.binary/dosbox-files/autoexec.bat with:
@echo off
Will cause a "dosbox-files" directory to be present in the root of the ISO with autoexec.bat in it. I wrote a script which would run on startup and mount this directory into ~/dosbox-files. Unfortunately this functionality broken when adding files to the output ISO file with PowerISO, ruining my usecase for this (being able to add games without rebuilding the image).
5. Game settings and save games:
When the ISO boots it makes use of tempfs and overlayfs to serve the filesystem and have it (temporarily) writeable. Given that all of this would be running from an ISO file or burnt DVD nothing could actually be saved outside of the booted instance.
That, combined with not being able to easily add more games/files like I wanted, and because I was probably going to be booting off Easy2Boot anyway, I modified my script to look for this "dosbox-files" directory in different locations and mount it in accordingly.
Booting from Easy2Boot gives me real persistence between reboots as the root USB drive is detected and its FAT32 or NTFS partition is mounted in read+write mode, and it's dosbox-files directory mounted into the user's home directory (which DOSBox mounts as C:\).
6. Graphics, sound and Windows managers:
I'd intended to make my ISO as small as possible and use DOSBox in terminal mode only (which I still find incredibly impressive). This caused some issues such as "full screen" mode refusing to use more than 1/4 of my actual screen. Using just xorg I had a small image and DOSBox could run in full screen, but on some machines keyboard and mouse input seemed ignored and I couldn't do anything. In the end I went with Xfce4 which solved these issues (fluxbox and others were smaller but lacked easy volume control).
With the addition of the xfce4-goodies package I could even boot my ISO on a 2013 MacBook Air and change the volume and brightness with the relevant keyboard keys (outside of DOSBox). For some reason the audio device always seemed to be muted when xfce booted, until I added the xfce4-pulseaudio-plugin package... weird.
On some machines the sound still refused to work. I thought I might be missing some kernel hardware support so went about trying to compile a custom kernel - making sure the modules for the hardware I'd be using as selected - and getting live-build to use that, but I had no luck. In the end it turned out I just had to add a "modprobe" file to set the priority of the audio devices, a good amount of time wasted there!
7. Other issues:
DOSBox failed to start due to it needing access to /dev/input/mice and /dev/input/mouse* files. These can be chmoded after boot, but I added a script which would add the user to relevant group, solving it.
I wanted it to "boot to DOSBox" not X/Fluxbox/Xfce... I found adding an .xinitrc file made that work (in some window managers).
Eg: config/includes.chroot_after_packages/home/user/.xinitrc (which would be put in the user's homedir)
#!/bin/bash

DOSBox &

. /etc/X11/Xsession
For xfce I had to create a .config/autostart/dosbox.desktop file and made a desktop shortcut to go with it.
Some extra DOSBox config settings improved the aspect ratio in games on widescreen monitors and the ver set command fixes some Dos tools refusing to start:
[sdl]
usescancodes=false
fullscreen=true

[render]
aspect=true

[autoexec]
@echo off
ver set 6 22
8. Finishing touches:
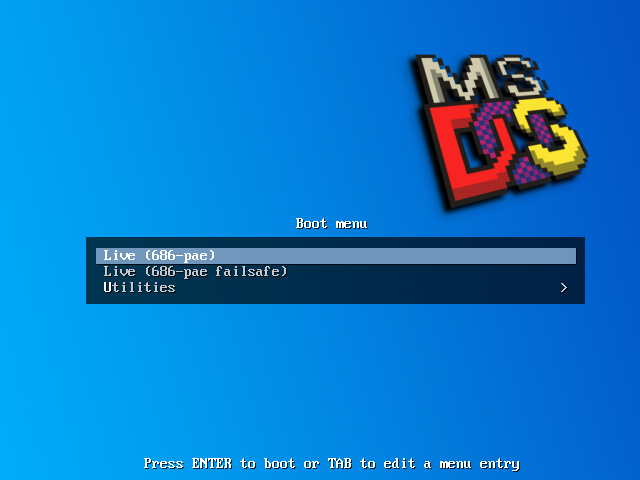
The built ISO file doesn't have a great boot screen, there's no auto-select on the menu items (it doesn't automatically boot past this screen, you have to press enter), and there's a pc speaker "beep" when it boots. Not really the look and feel I was going for (it was meant to boot to DOSBox, not a menu, after all).
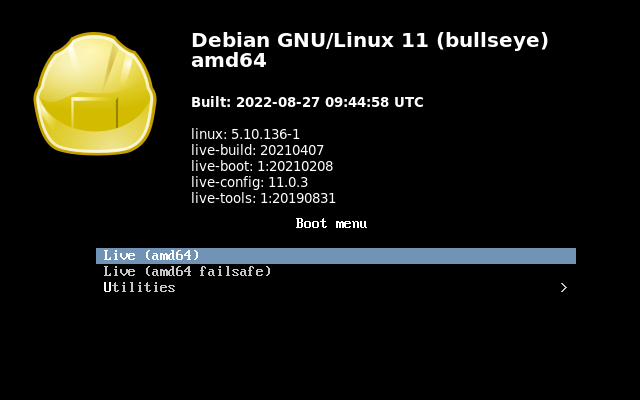
The boot screen image could be replaced using the includes.binary directory (replacing boot/grub/splash.png for UEFI booting and isolinux/splash.png for MBR booting). Given the specific kernel versions/filenames in the menu configs I decided not to replace them with my own this way, and instead modified the ISO after it was built with PowerISO, with the following changes:
boot/grub/grub.cfg- addedset timeout="3"isolinux/isolinux.cfg- changedtimeoutto30(it's measured in 10ths of a second for some reason)isolinux/menu.cfg- removed the0x07ascii ("beep") character from the end of themenu titleline
Much better:
There's not much to show for it, short of a screen recording (which I was going to do with VirtualBox but there are some screen resolution changes during the process which throws things out), but it works!
TL;DR and building your own image
If you clone my git repo, build the docker image, and run my build.sh script inside it (as per the readme) you should be left with a .iso file in the repo's directory which boots to Xfce4 and then DOSBox in full screen.
Files can be added into the "config/includes.binary/dosbox-files" directory, after cloning the repo and before building, to bake them into the ISO.
Alternative the ISO can be put on an Easy2Boot USB drive, and a dosbox-files directory put in the root of the drive to be mounted+accessed inside DOSBox.