A while back I found a local "vintage computing" group that helped track down a computer case like the one our family computer had when I was child. They cleaned it up, supplied all the parts to make it a working 286 (like we had)! Unfortunately it's taken to intermittently freezing during boot - seemingly a memory (motherboard?) issue I can't permanently fix, but can get it to boot with some fiddling.
Until I can get it fixed properly I thought I'd try and get a Raspberry Pi to fill in, living inside the case (though using a USB keyboard and an HDMI screen). I'm fairly happy with the setup I've achieved, so thought I'd share my notes here. I used a Raspberry Pi 3 but my resulting SD card worked fine in a Pi 1 so I assume the steps would be the same.

Initial setup
While there are some "bare metal" emulators for the Raspberry Pi (eg: Commodore64 and 8086/PC), DOSBox is a well established emulator with loads of support and stuff "just works" and it's available for the Raspberry Pi.
I found it easiest to start with the latest version of Raspbian (with desktop), writing it to SD card and booting the Pi. Once in the desktop it should ask whether black borders visible on the screen set the necessary "overscan" settings. This is also a great time to setup wifi networking if your Pi supports it.
Installing and configuring DOSBox
This part's relatively easy, while in the Raspbian GUI open a terminal and run sudo apt update then sudo apt install dosbox to install DOSBox. Run dosbox to start it and a UI window should appear, type "exit" or close it to quit. You should now have a ~/.dosbox/dosbox-0.74-2.conf file - it's necessary to do this in the GUI to avoid DOSBox crashing and keyboard input from being invalid when running without the GUI.
Open the file in an editor and add/change the following options:
usescancodes=false- I believe this fixes keyboard input in terminalkeyboardlayout=us- unless something else is appropriate
The above steps come from this forum post, and I had the issues the thread describes before doing them.
Making it look pretty
I didn't want my Pi to boot into the GUI, show the Raspbian and "rainbow" startup screens, or any of the terminal text in between. I didn't get things as good as I wanted, but it's not far off.
In a terminal run sudo raspi-config which should give some menu options, the changes I made were:
- "Boot Options" -> "B2 Console Autologin" for booting to terminal rather than GUI, and logging in automatically so I can run DOSBox automatically after boot
- "Boot Options" -> "B2 Wait for Network at Boot" - I chose not to, to boot faster (and I wasn't planning on using networking, though wifi still works)
- "Boot Options" -> "B3 Splash Screen" - I made sure this was enabled, to show my custom boot screen (below)
- "Advanced Options" -> "Audio" - set audio output depending on your setup
Run sudo nano /boot/cmdline.txt and change "console=tty1" to console=tty3 to hide text output, add logo.nologo to hide the Rasperry Pi logos at the top of the screen during boot.
Run sudo nano /boot/config.txt and add disable_splash=1 to the bottom of the file to hide the "rainbow splash screen" on bootup.
Run sudo nano /usr/share/plymouth/themes/pix/pix.script and delete all the lines inside the "message_callback" function near the bottom of the file:
  my_image = Image.Text(text, 1, 1, 1);
  message_sprite.SetImage(my_image);
  sprite.SetImage (resized_image);
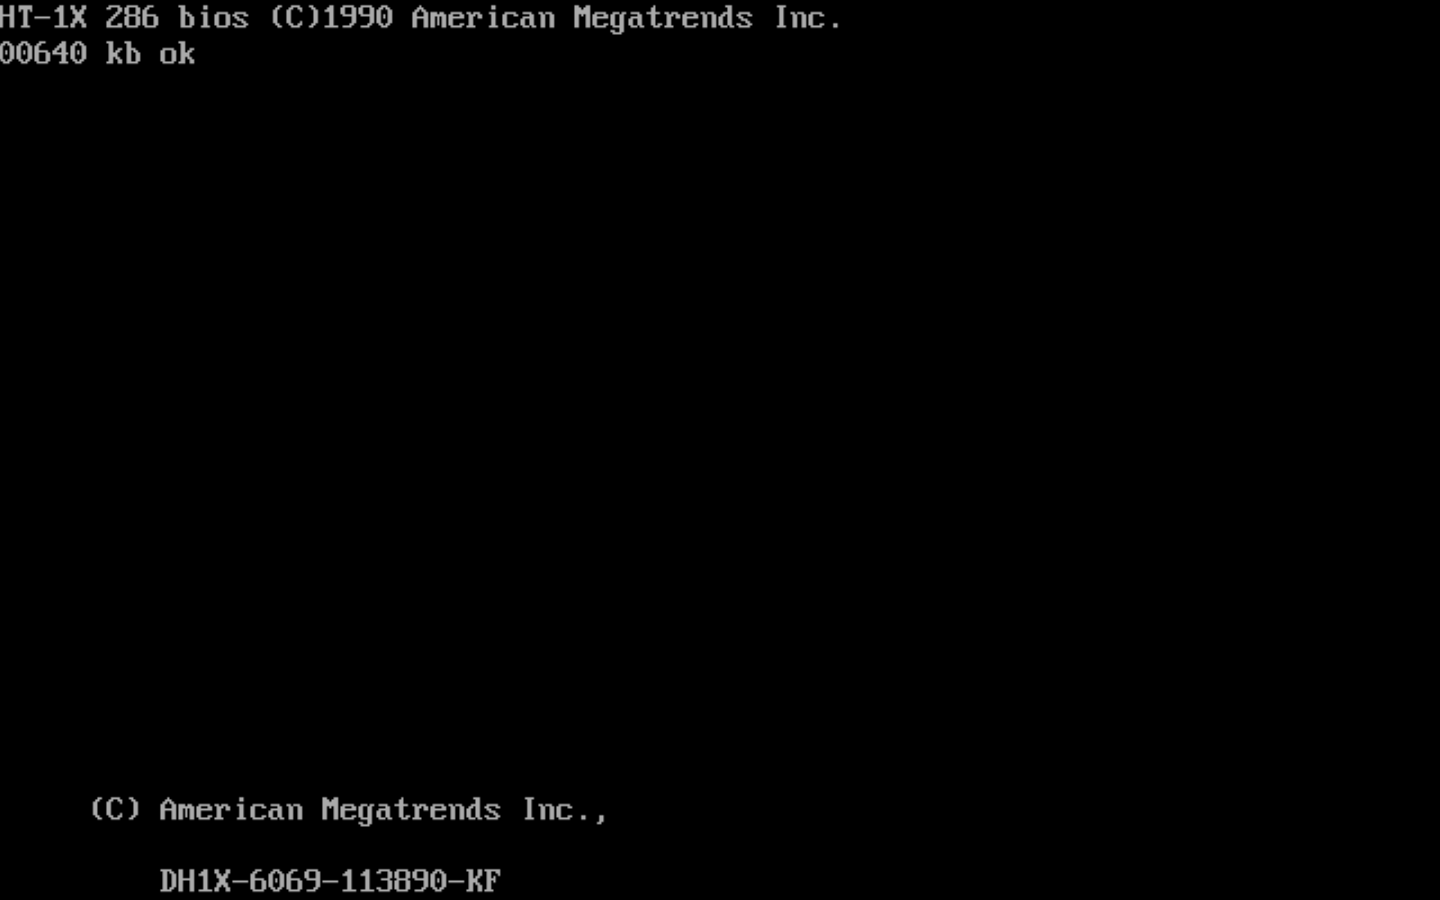
Replace /usr/share/plymouth/themes/pix/splash.png with your choice of splash screen, here's mine attempting to emulate an old BIOS memory-check screen:
The command line, boot screen and code change comes from this post.
Run sudo nano /lib/systemd/system/plymouth-quit.service and add --retain-splash to the end of the "ExecStart" line to keep our splash screen visible for longer.
That just left some text visible before and after logging in, and if you haven't changed the "pi" user's password there's a nag message about that, which is all easily silenced:
sudo nano /etc/issue- I deleted everything (this is shown above the login prompt)sudo nano /etc/profile.d/sshpwd.sh- I deleted everything (this is the password warning/nag text), as per this postsudo nano /etc/motd- I deleted everything (this is shown after login) and then added^[[H^[[2Jcontrol codes to force a screen clear to hide "last login" information, as per this post - you can't just copy and paste this please read the link to see how to type them in.
That should make the boot process look a bit more like a real 286, but landing up in a terminal isn't right. A quick change to ".bashrc" should fix that... run nano ~/.bashrc and at the very end add dosbox >/dev/null which should cause it to run (without adding text output) on startup. Unfortunately there's not a lot we can do about its orange splash screen. If all went according to plan you should be able to reboot your Pi and end up in a DOSBox "Z:>" prompt.
A better DOS
DOSBox is great, but it's not MS-DOS... and attempting to run some games or MS-DOS programs could give problems. Also who ever booted to a "Z:"?
Near the bottom of your ~/.dosbox/dosbox-0.74-2.conf file should be a "[autoexec]" section which acts as the "autoexec.bat" file (run on startup). I've added this to mine:
@echo off
mount c /home/pi/dosbox-files
ver set 6 22
c:
cls
set path=c:\;c:\dos;z:\;
c:\bootup.bat
The ver set 6 22 lets MS-DOS apps that check the version number work, and the path change lets you run MS-DOS commands from anywhere. I haven't actually tried install MS-DOS 6.22 in DOSBox, instead I used VirtualBox to install it then mounted the ".vdi" virtual hard drive in another VM that could SSH the (zipped) "DOS" folder to my Pi. Don't forget MS-DOS 6.22 "Disk 4"... that's where you'll find gorillas.bas and nibbles.bas!
As for "bootup.bat", well that's just a little more retro authenticity I wanted to see at boot:
╔══════════════════════════════════════════════════════════════════════════════╗
║ System Configuration (C) Copyright 1985-1990, American Megatrends Inc.,      ║
╠══════════════════════════════════════════════════════════════════════════════╣
║ Main Processor     : 80286           │  Base Memory Size  : 640 KB           ║
║ Numeric Processor  : None            │  Ext. Memory Size  : 384 KB           ║
║ Floppy Drive A     : 1.44MB, 3½"     │  Hard Disk C: Type : 47               ║
║ Floppy Drive B     : 1.2 MB, 5¾"     │  Hard Disk D: Type : None             ║
║ Display Type       : VGA or EGA      │  Serial Port(s)    : 3F8              ║
║ ROM-BIOS Date      : 12/15/89        │  Parallel Port(s)  : 3BC              ║
╚══════════════════════════════════════════════════════════════════════════════╝


C:\>
There are some issues with different "code pages" or something, I ended up making it inside DOSBox and you can get it from my GitHub repo - it might be best to download the ".gz" file and unzip on the Pi.
The result:
Notes:
I set my DOSBox config to machine=hercules because that's what my 286 was - the DOSBox documentation says "The resolution is 720 by 348 and only two colors" - which looks too stretched (at least on my 16:9 screen).
I made the "BIOS" splash screen by running a ".bat" script I typed up (also in my GitHub repo), pressing CTRL+F5 on the Pi to take a screenshot (saved to ~/.dosbox/capture by default) then stretching it to be full native resolution of my monitor (otherwise you end up with a block floating in the middle of the screen).
There are still some black bars around DOSBox, but this doesn't appear to be the Pi's fault as its GUI is full screen and the blinking cursor on startup is in the very top corner of the screen. While there are DOSBox configs to set the resolution to run at ("fullresolution" setting), this doesn't seem to work when using "output=surface", which is necessary to run DOSBox in terminal (using "SDL")