As mentioned in my previous blog post, I carry around a single bootable USB drive with multiple (bootable) ISOs on it, thanks to Easy2Boot. This post will be a quick look into setting it up, and some quirks and tricks I've learnt along the way.
For this blog post I've re-created my USB drive using the v2.06cBeta version of Easy2Boot, up from version 1 something and everything's been much the same so it shouldn't matter what version you go use.
Installation and Setup
I've always used Easy2Boot from Windows but there seems to be a Linux option available. Download Easy2Boot (I did not take the "DPMS" package which is related to booting/installing Windows XP) from the download page.
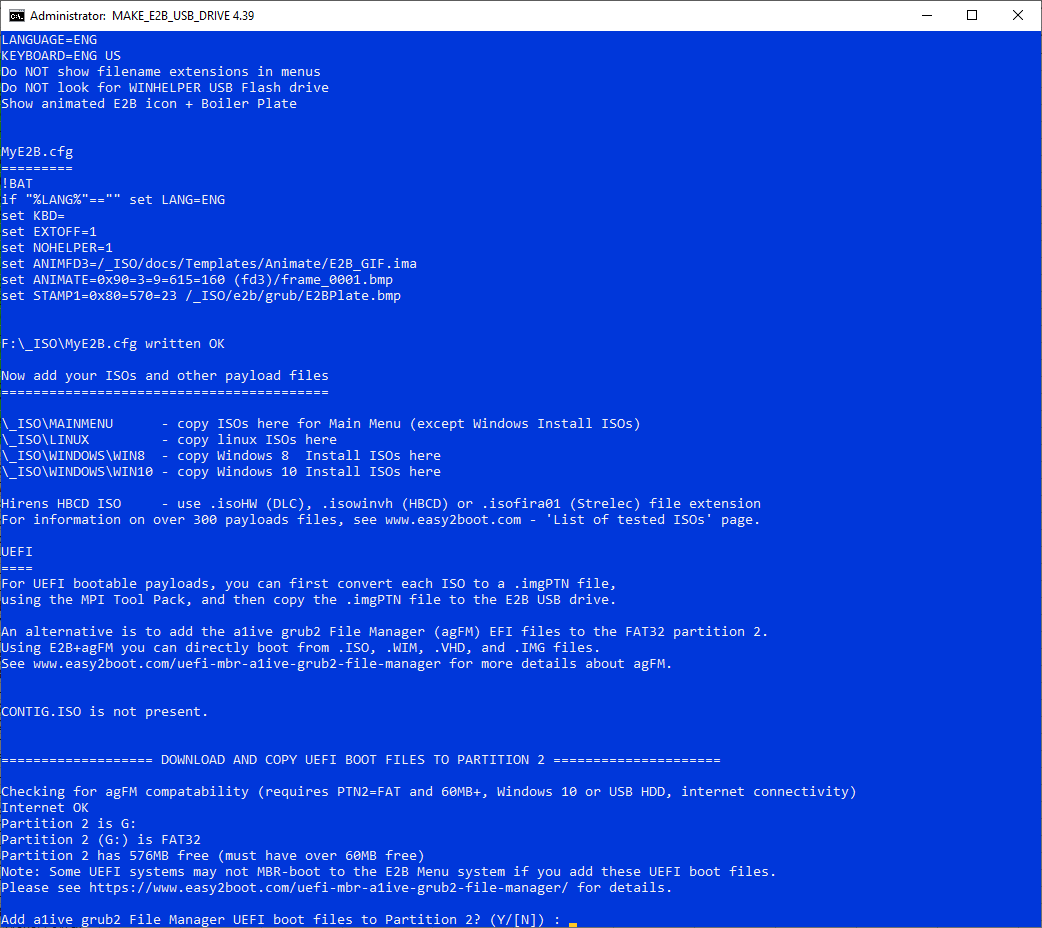
Run Make_E2B executable with your destination flash drive in, select your drive from the drop down at the top and click the "Make E2B Drive" button:
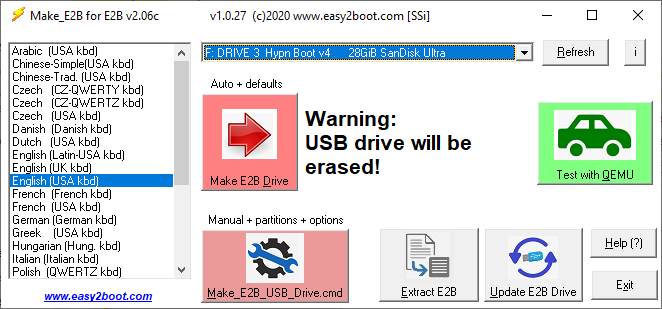
There will be some fairly straight forward prompts along the way, ending with prompting about UEFI boot files - I choose not to add them. In case you're wondering about the reference to "Partition 2", the USB flash drive is formatted and two partitions created to help certain BIOSes boot from it... I guess seeing it as more of a USB hard drive than flash drive, due to the multiple partitions.
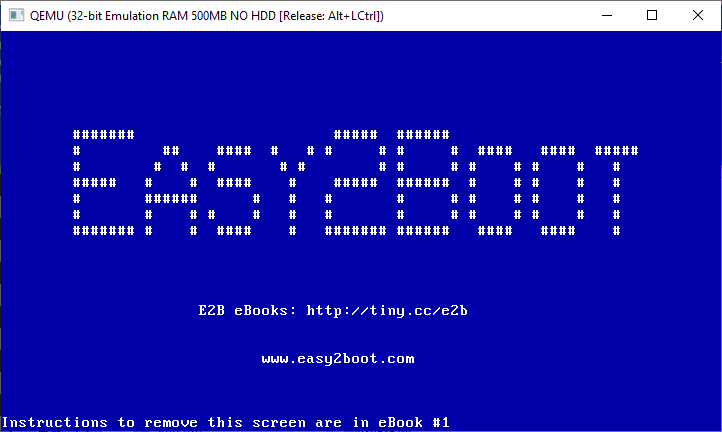
Once it's done you can boot a machine from it, OR run the QEMU_MENU_TEST (run as admin).cmd present on the flash drive which runs it in the QEMU virtual machine. It should boot to a blue "nag screen" for five seconds before loading the menu:
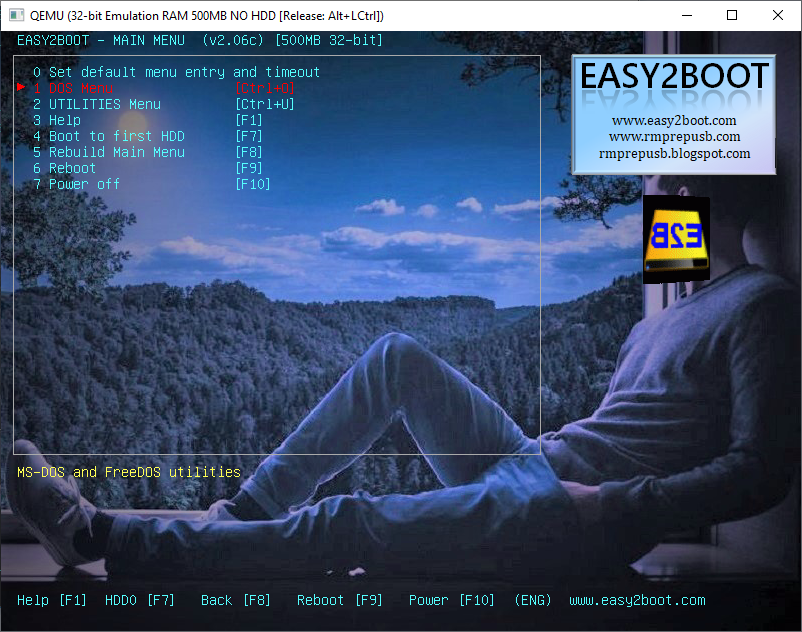
After that it loads into their default menu (there some default tools and images installed), complete with an animated logo:
Cleanup
Now to improve things - the first step is removing a bunch of stuff we don't need... These steps are highly opinionated to suit my use cases, yours might differ.
1. From the root of the drive delete everything except:
_ISO
grldr
MAKE_THIS_DRIVE_CONTIGUOUS.cmd
menu.lst
QEMU_MENU_TEST (run as admin).cmd
The scripts come in handy when modifying the contents of your drive, the "_ISO" folder is where our files go and the others are for booting.
2. In the "_ISO" directory delete everything except:
docs
e2b
MAINMENU
3. Then inside the "MAINMENU" delete everything.
Contiguous Free Space
Certain file types require the files to be contiguous - in other words "defragged", or not split up. The MAKE_THIS_DRIVE_CONTIGUOUS.cmd script is included by Easy2Boot to help with this, but it doesn't always work when you think it should due to how NTFS stores data on the partition.
Non-contiguous files can sometimes still be booted, but may have issues. For example the Kali Linux iso normally displays a menu when booted, when its file is not contiguous Easy2Boot boots it in such a way that this doesn't happen - which is a problem if you want to use the persistence option.
Looking at the usb drive in a tool like "PerfectDisk" we can see some "MFT" data in the middle of some free space on the drive. This poses a bit of a placement issue as files might be placed (during copy or defrag) on either side of this "MFT" data - possibly rendering some space unusable, and thus wasted. We don't want this...
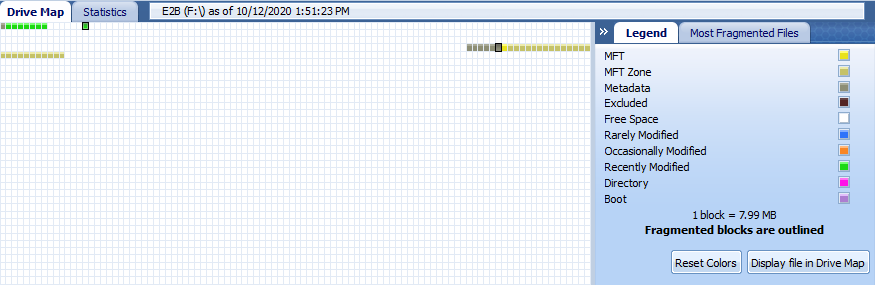
Using "GParted" we can shrink and then grow the partition, forcing the "MFT" data to be moved to the beginning of the free space. Unfortunately this involves booting into a Linux OS (there's a GParted live iso available on the site, but GParted is also available in Kali's live boot), and then modifying the USB drive's partition table.
Shrink the primary partition as small as it will go (make sure you've selected the correct drive in the top left drop down!) and click the apply (tick) button:

Boot back into Windows and scan the disk for errors (right click on it in Explorer, go to "Properties" -> "Tools" -> "Check"), it will likely find some errors which it should fix - I believe this is the "MFT" data being recreated.
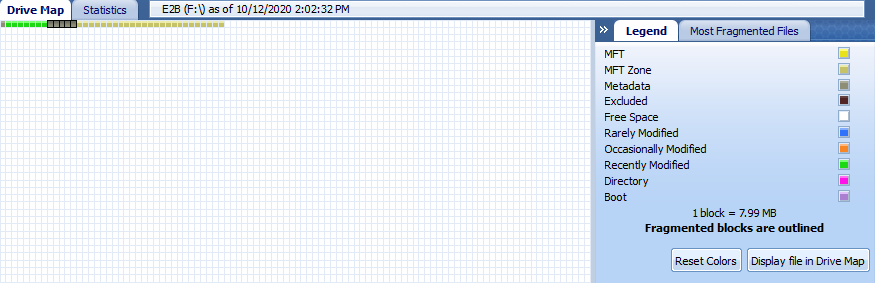
Then it's back to GParted to grow the partition back to full size, then back to Windows to check for errors. After all that rebooting and OS switching the "MFT" data is now out of the way:
Customizing
Creating a MyE2B.cfg file in the _ISO directory lets us change things... like the background image (assuming we add one), menu defaults and colours, etc.
Easy2Boot has a relatively sophisticated menu system supporting submenus and various overrides, but I like to keep things simple so ignore most of that.
My files are available in my GitHub repository to get you started (just download and copy them to "_ISO").
If everything works you should boot to a far more appealing screen (once you've added files to your drive):

Ah... SO much better.
That blue nag screen should also be gone now, but you'll need to buy the "ebook #1" to find out how/why ;)
Adding Operating System ISOs and files
Files go into "_ISO/MAINMENU" - well that's where I put them anyway, Easy2Boot has intended directories for different purposes with different defaults... but we deleted those in favour of simplicity.
Most .iso files put in here work fine (eg: Kali Linux - complete with boot menu options, if contiguous).
There are interesting+fun other files you can use, though creating them won't be covered in this post, like .img boot disks (eg: DOS 6.22) or .vhd files (Windows 7 Ultimate and above live boot disk images!).
Make sure to run MAKE_THIS_DRIVE_CONTIGUOUS.cmd after adding files - sometimes you may need to move large files off the drive and defrag first to get smaller files out of the way.
More information
Easy2Boot really has so much functionality this post brushes over (or breaks), it's really worth checking out the documentation, eg: supported file types, the menu system and PassPass (the "Bypass the Windows Password" menu option in my screenshot).
Two ISOs I've found to be really useful are GParted (as mentioned and used earlier) and Hiren’s BootCD PE.