Pico-8 is "a fantasy console for making, sharing and playing tiny games and other computer programs". Basically an emulator, roms ("carts"), and development kit for retro-like games... for a console that never existed.
It's not free but the software you buy gives you everything you need to make your own games relatively quickly and easily. I've wanted to try it out for a while and finally got a chance to.
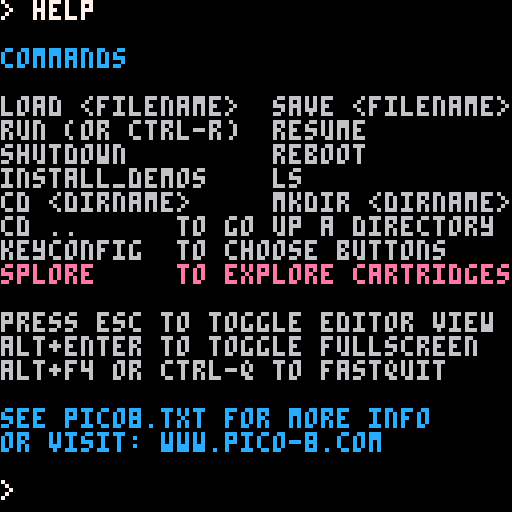
This post is more a dump of notes than a tutorial, as there are already several really good tutorials available. I started with a 9 minute tutorial showing how to get a sprite on to the screen and moving around under a user's control.
The Interface
Pico-8 is a GUI application available for Windows, Mac and Linux. It "boots", when run, into a terminals:
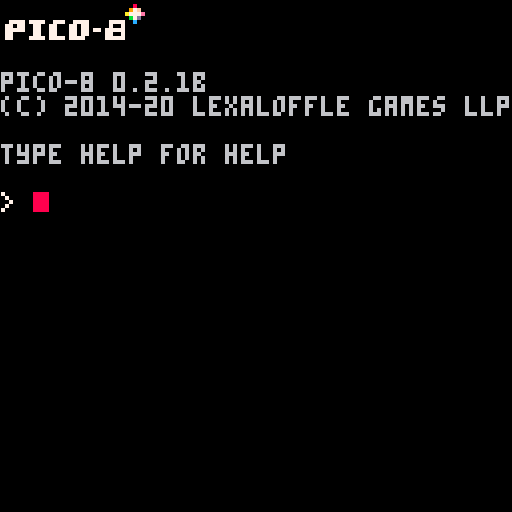
The terminal lets you perform tasks like saving and loading cartridges ("roms"), exporting them to be played by others who don't have the Pico-8, and more:
Most of the development will happen in the IDE mode which can be accessed by pressing the "Esc" key:
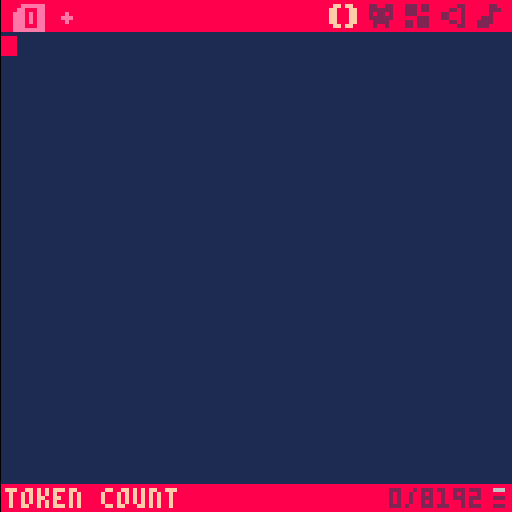
To play your game press Ctrl+R and press Esc (twice) to get back to IDE mode.
Sprites
Clicking the 2nd icon in the top right toggles the IDE mode to the Sprite editor, with sprite slots in the bottom black section of the screen. The "x" is a pre-existing sprite.
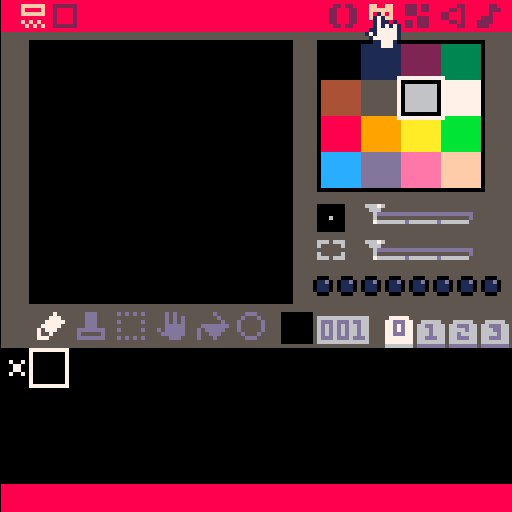
Clicking the 1st icon in the top right will take you back to the code editor. Comments can be made with two minus signs, and making one on the first line of a code tab will name that tap (when you hover over it).
Pico-8 uses a Game Loop and exposes three main functions to control your game logic and screen drawing: _init(), _update() and _draw().
Putting a sprite on the screen is as easy as calling the "spr()" function and specifying which sprite number to draw and at which X and Y coordinates. You can also choose to render multiple sprites at once (eg: 2 sprites wide) and to flip horizontally and vertically.

A sprite can be stretched using the "sspr()" function, which also lets you reference the sprite pallet directly letting you select a region across sprites to render and specify the width and height to use:
Sprite colours can be modified programmatically with the "pal()" function. Get the colour codes by hovering over the colour picker in the sprite parameter. The first parameter is the original colour to replace and the second is the replacement colour - to reset the colour back the original colour code is used again, not the colour it was replaced with.
Input
User input can be read with the "btnp()" function. Here's a simple game that moves sprite 0 around the screen:
-- main tab
function _init()
  cls()
  x=0
  y=0
end

function _update()
  if btnp(0) then  //move left
    x-=4
  end

  if btnp(1) then  //move right
    x+=4
  end

  if btnp(2) then  //move up
    y-=4
  end

  if btnp(3) then  //move down
    y+=4
  end
end

function _draw()
  cls()
  spr(0, x, y)
end
Saving, loading and exporting
Press "Esc" until you reach the terminal, and type "save" followed by a name for your game and press enter. Once you've done this you can press Ctrl+S to easily save your project while editing. When re-opening Pico-8 you can type "load" followed by the name of your game (you can press tab for auto-completion) and enter to load it.
The games ("carts") are saved in "C:\Users{username}\AppData\Roaming\pico-8\carts" on Windows.
In order to share your game it needs to be exported (assuming the person you're sharing it with doesn't own Pico-8). Before you can do this you must set a "label" (think sticker on the front of a physical cartridge). The "F2" hotkey captures the "label" (image), I'd suggest running your game though so the picture is indicative of what the player will see. Then press "Esc" to get back to the terminal and "export {name}.html" to make a browser compatible export.
The exported files are saved in the same location as above (in "AppData\Roaming" in Windows).

My little "game"
While the above only scratches on the surface of what Pico-8 can do, it got me started on recreating the screen from the GameGenie for the NES... and I'm rather impressed with what I've achieved so far:
The code for it is up on GitHub.