I carry a bootable usb drive with me, containing multiple bootable ISOs (thanks to Easy2Boot, but that's a blog post for another day) because you never when you'll need to recover files from a hard drive, or need Kali Linux for some totally legit cause.
One of the ISOs I keep on my drive, and probably use the most, is Gparted - a Linux based partition editor able to create, delete, resize or move partitions around... along with a range of tools like "zerofree" and "dd" built in. Unfortunately (for me) the LiveISO takes 30 seconds before the default boot menu starts booting the interface, but first asks about language and keyboard mapping. I get why this is necessary, but I'd prefer to boot straight to the app.
This startup behaviour can be modified by changing the "syslinux.cfg" and/or "isolinux.cfg" files (shown below), but doing so with a tool like "MagicISO" results in a checksum error:
isolinux: Image checksum error, sorry...
Using ImgBurn (I suggest using the "Provided by ImgBurn" mirror to avoid crapware from 3rd party host installers) we can recreate the bootable ISO containing the necessary changes:
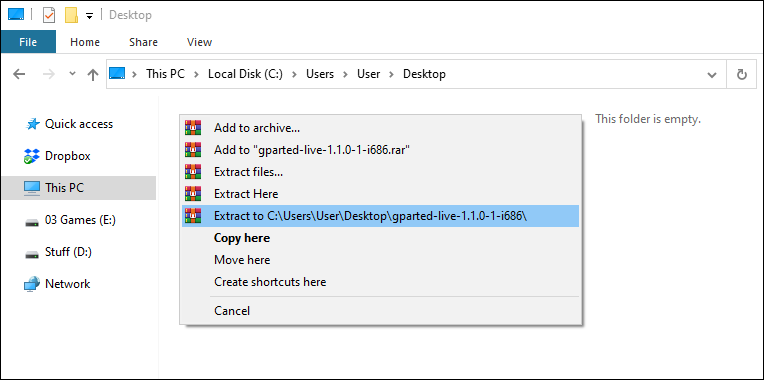
Extract the .iso file somewhere ("C:\Users\User\Desktop" in my case):
With the files extracted they can now be modified. The "syslinux\isolinux.cfg" and "syslinux\syslinux.cfg" files both seem to have identical context, though "isolinux.cfg" seems to be the one used. Either way I just modified both.
The first change, on line 3 for me, is changing "timeout 300" to timeout 30 - reducing the boot menu delay from 30 seconds down to 3 seconds.
Adding locales=en_US.UTF-8 keyboard-layouts=us,us gl_batch to the end of line 37 ("append initrd=/live/initrd.img ...") sets the keyboard and language preferences.
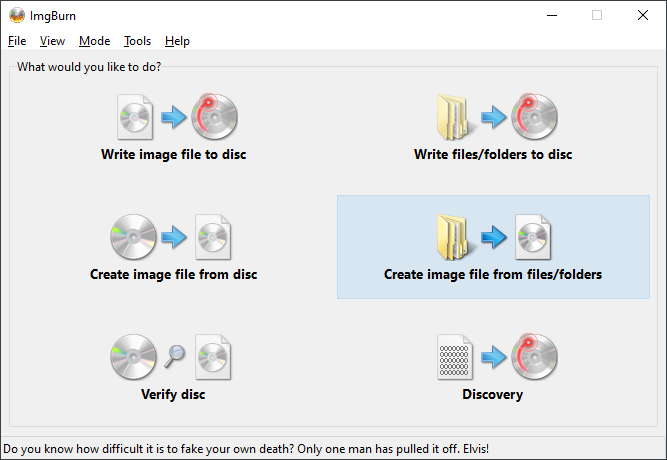
To re-create the ISO, open ImgBurn and choose "Create image file from files/folder":
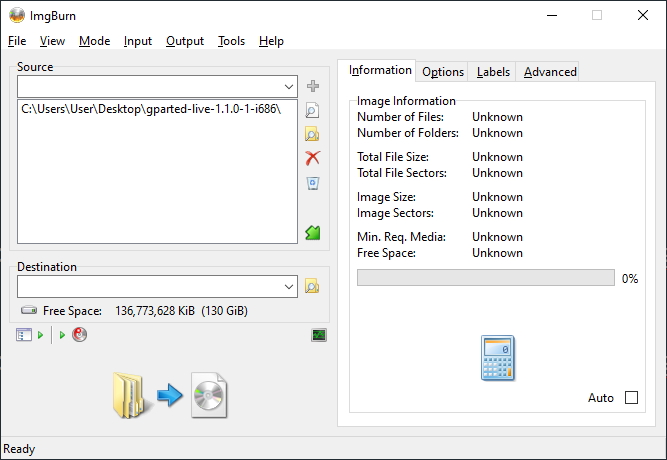
Click the "Browse for a folder..." icon (folder icon near the middle of the app) and select the extracted iso's folder, "C:\Users\User\Desktop\gparted-live-1.1.0-1-i686" in my case:
On the right select "Advanced" -> "Bootable Disc" and tick "Make Image Bootable"
and "Patch Boot Information Table" boxes. Next to "Boot Image:" click the "Browse for a file..." button and select the isolinux.bin file, in the "syslinux" folder, of your extracted iso ("C:\Users\User\Desktop\gparted-live-1.1.0-1-i686\syslinux\isolinux.bin" in my case):
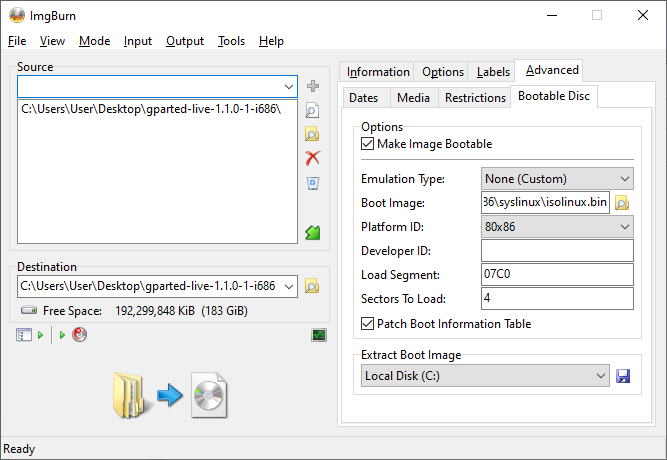
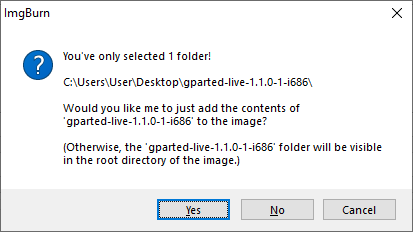
Set a "Destination" path and filename, in my case I named mine gparted-live-1.1.0-1-i686 - auto.iso as it "automatically" sets the necessary keyboard and language options. Click the big "Build" button (lower left) and you should get a prompted if you want to include the files from inside your selected folder (as the ISO root's files) - you do, the alternative is creating the folder in the ISO root which will just mess everything up.
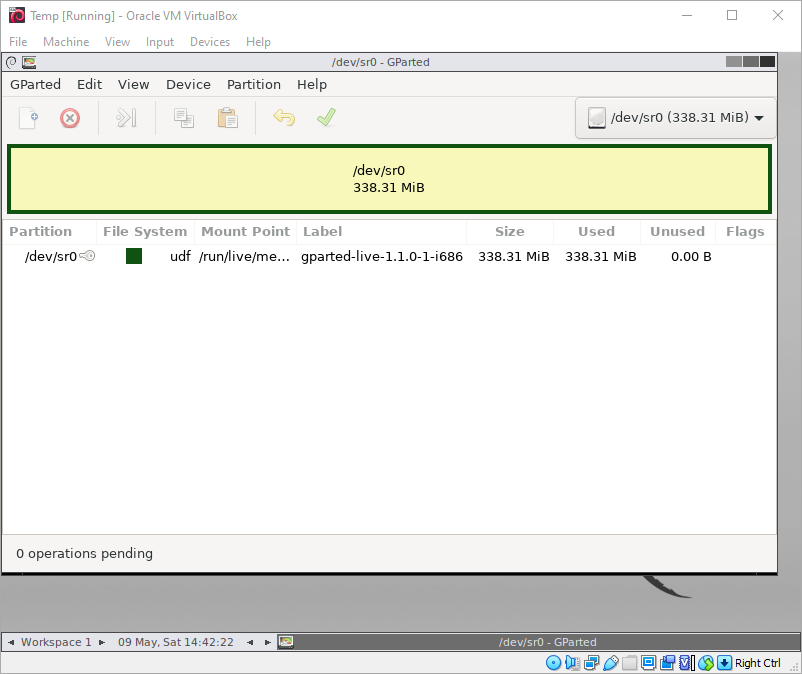
A few more "Yes"/"Ok" clicks and you should have your modified, bootable, ISO file. I like to test them with VirtualBox, and in my case the above all worked exactly as I wanted, landing me in the GParted after a few seconds from power on.